In Switzerland, where alpine conditions can swing from +5 °C to –15 °C within hours, responders must combine technical ice-rescue skills with medical management of temperature-related injuries. Agencies like the Swiss Red Cross, Rescue Switzerland (Rega), and Cantonal Civil Protection Services align their training with NFPA 1670 and ISO 22320 emergency-management standards to ensure standardized response capability across lakes such as Zürichsee, Bodensee, and Lac Léman.
Operational Context & Triggers
Common Causes of Ice Incidents
- Unstable early-season ice: Ice thickness under 10 cm cannot support a person’s weight.
- Hidden cracks and inflow zones: Currents, aerators, or drainage outlets weaken structural integrity.
- Night recreation or photography: Low visibility masks warning signs or unsafe zones.
- Vehicle crossings on frozen roads: Mountain commuters sometimes misjudge ice strength near shallow fjords.
Swiss meteorological data show that 60–70 % of ice-related rescues occur within the first three weeks of freeze or thaw periods. These incidents spike during weekends when public ice-skating or ice-fishing peaks.
Emergency Procedures & Response Steps
Step-by-Step Operational Sequence
1. Incident Command Activation (ICS Mode)
- Establish Incident Command Post (ICP) at a safe distance from the ice edge.
- Assign Rescue Group Supervisor, EMS Group, Safety Officer, and Communications Officer.
- Implement PAR (Personnel Accountability Report) every 10 minutes.
- Follow LUNAR protocol when identifying rescuers in contact with the victim (Location, Unit, Name, Assignment, Resources).
2. Scene Size-Up
- Identify ice conditions: color (blue, white, grey), cracks, air pockets.
- Estimate victim location and last known position using witness statements.
- Conduct 360° assessment for secondary hazards multiple victims, thin-ice zones, or under-ice flow.
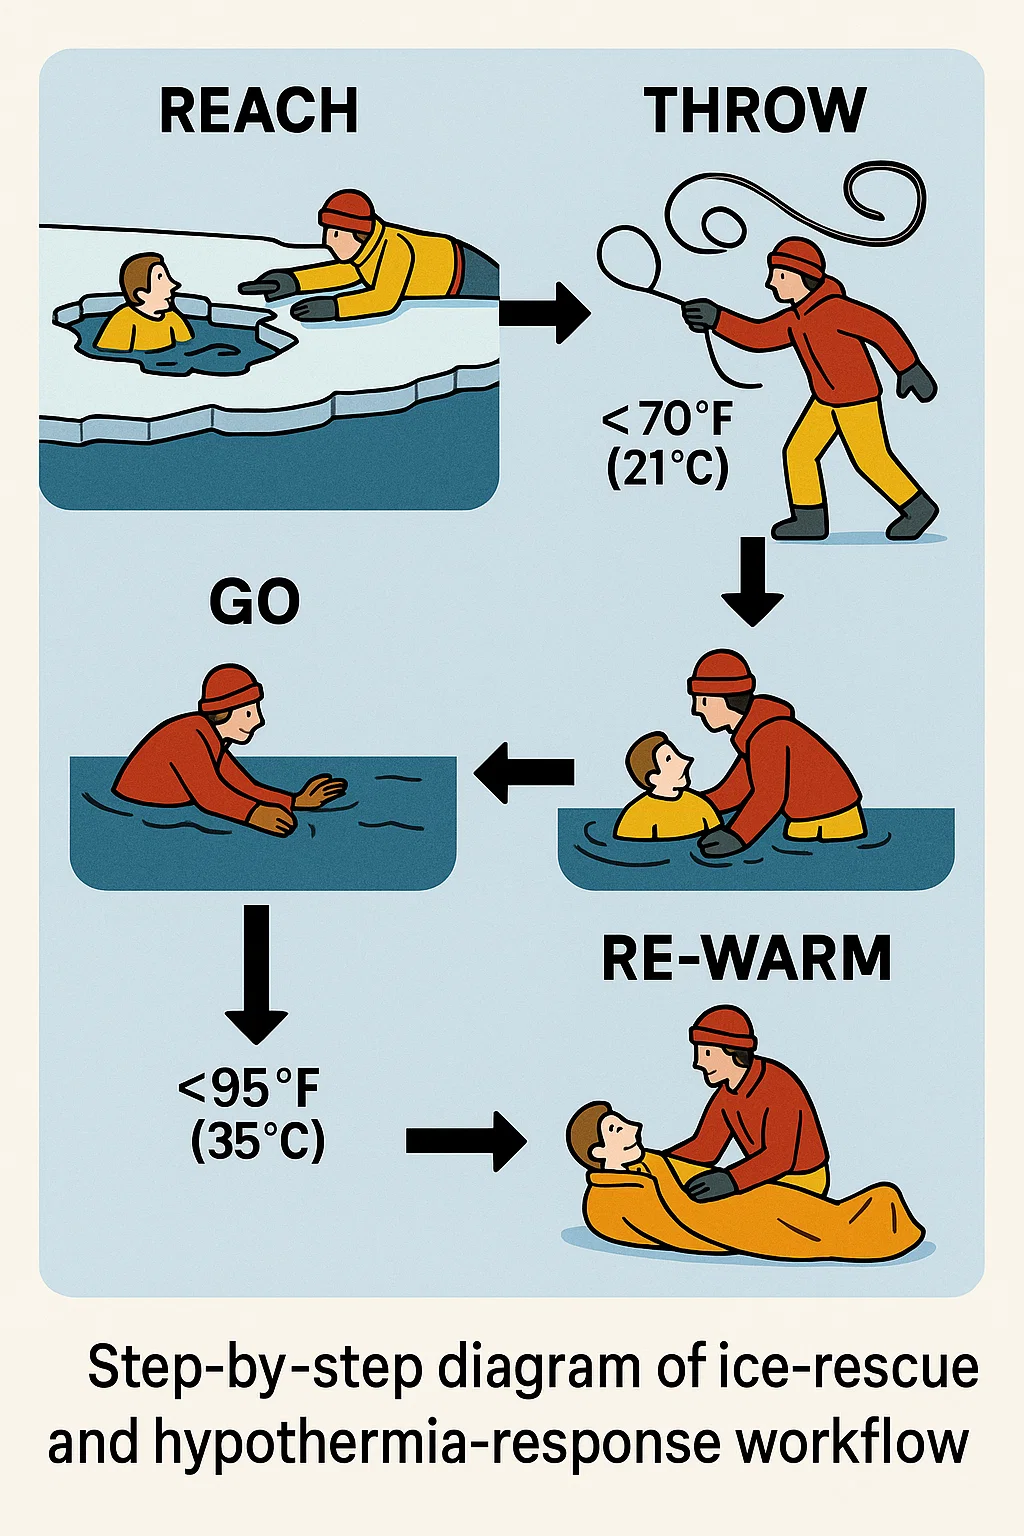
3. Reach-Throw-Go Sequence
| Action | Tool | Key Points |
|---|---|---|
| Reach | Pole, ladder, rope | Stay prone, distribute weight; never walk upright. |
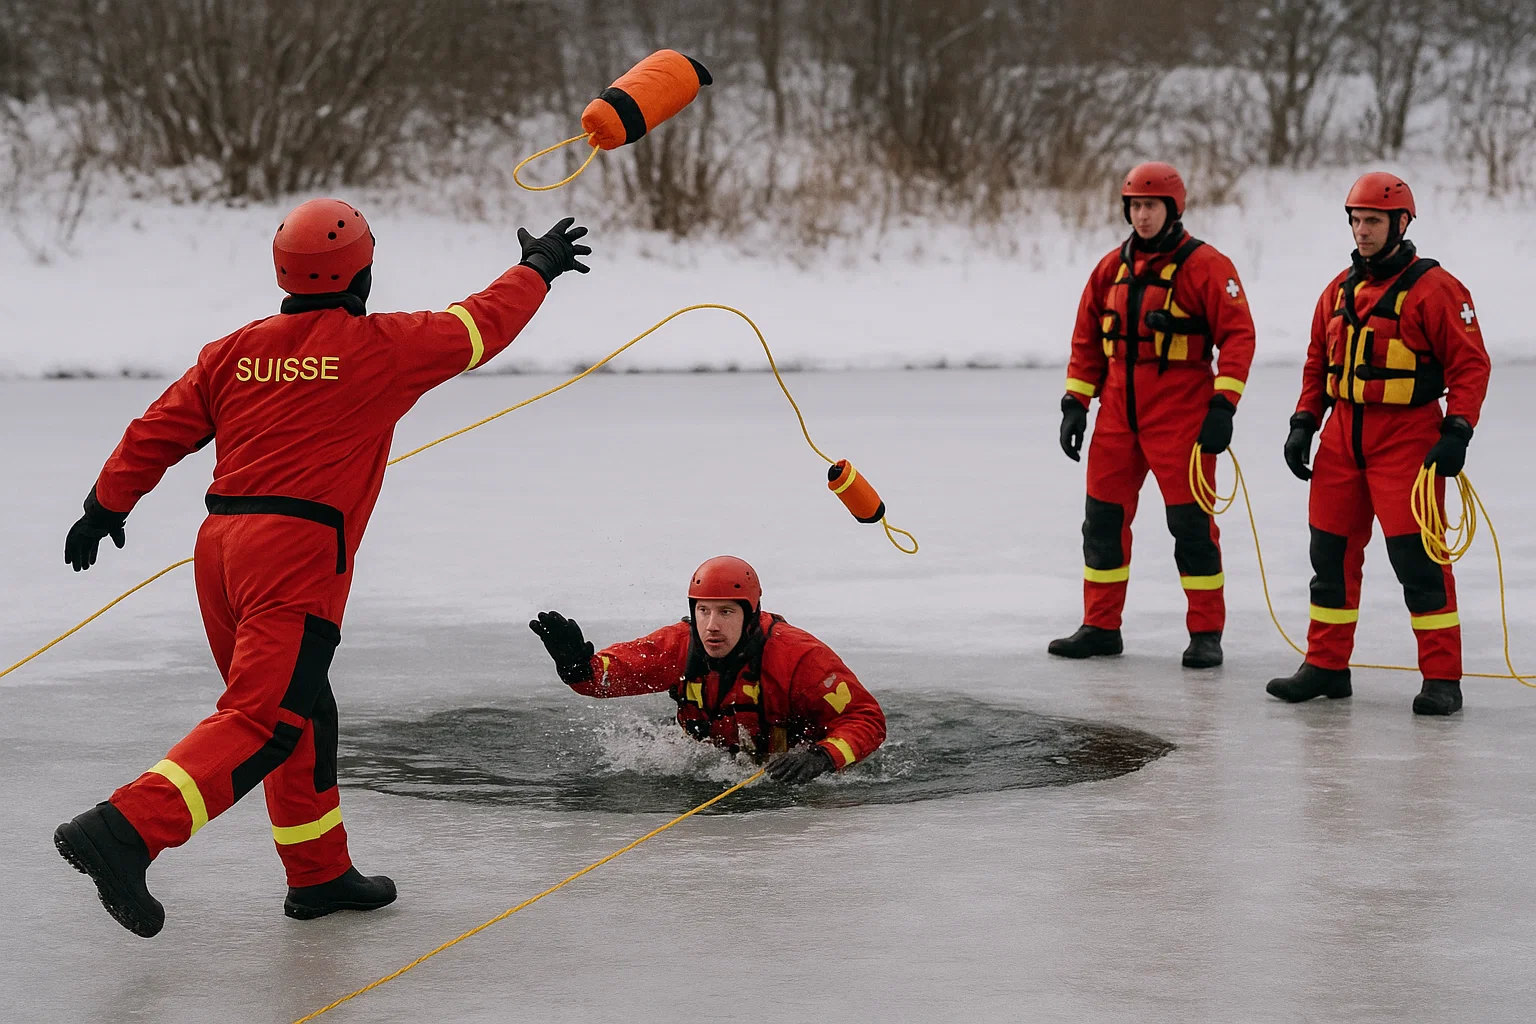
| Throw | Throw-bag, buoy, line | Target beyond victim’s hands; instruct “kick and pull.” |
| Go | Trained rescuer only | Secure tether to harness; safety spotter onshore. |
Pro Tip #1: Never allow spontaneous rescuers to crawl onto thin ice. Assign bystanders to relay and standby roles only.
4. Victim Recovery
- Approach low and slow; maintain three-point contact.
- Pull from downstream direction if currents exist.
- Support airway immediately upon surfacing; patient may gasp or vomit due to cold shock.
5. On-Scene Medical Care
- Handle gently rough movement can trigger after-drop and cardiac arrhythmia.
- Remove wet clothing, insulate with foil blankets and dry layers.
- Assess vital signs: breathing rate, pulse, GCS (Glasgow Coma Scale).
- Initiate passive re-warming (dry blanket, warm environment) for mild cases.
- Start active external re-warming (chemical heat packs to armpits/groin) for moderate hypothermia under EMS supervision.
- Prepare IV warm fluids (38–42 °C) and heated oxygen if available.

6. Transport & Handover
- Priority transport to nearest emergency department or alpine trauma center.
- Maintain horizontal position during transfer.
- Provide full MIST report (Mechanism, Injuries, Signs, Treatment).
Equipment & Tools
Specs & Selection Table
| Equipment | Specification | Function | Maintenance Cycle |
|---|---|---|---|
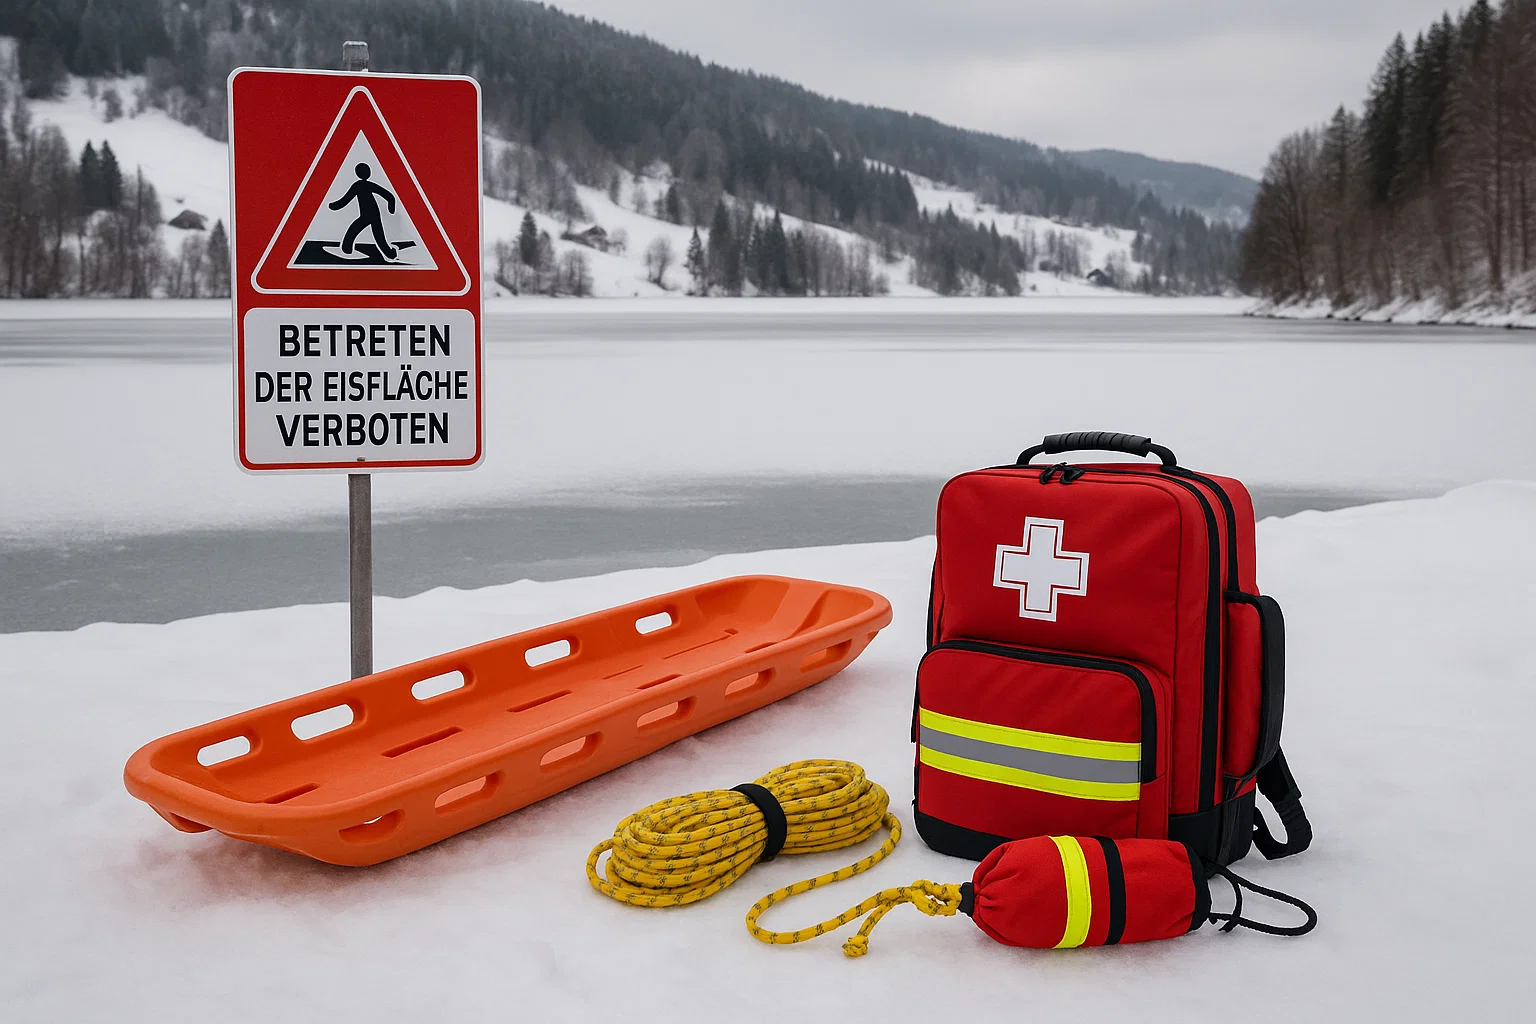
| Rescue Sled (Inflatable or Rigid) | 2–3 m length, ≤ 35 kg | Rapid surface travel, victim loading | Annual pressure test |
| Throw Bag | 15–25 m floating line, bright color | Quick distance reach to victim | Dry and repack after every use |
| Ice Awls / Picks | Metal spikes with wrist straps | Victim self-rescue | Inspect for corrosion monthly |
| Thermal Blanket (ISO EN 1865) | Heat retention ≥ 90 % | Hypothermia prevention | Replace after contamination |
| Dry Suit / Cold-Water PPE | Insulated + neoprene seals | Rescuer protection ≤ –10 °C | Leak test each season |
| Defibrillator (AED) | Cold-tolerant battery | Cardiac arrest management | Monthly function test |
Pro Tip #2: Always pre-rig throw-bags in alternating coil pattern to prevent knotting during deployment crucial in sub-zero wind.
Inspection & Maintenance
- Conduct daily visual checks during active winter season.
- Maintain PPE log sheets per NFPA 1852 for immersion suits and harnesses.
- Replace chemical heat packs after each activation.
Field Scenarios / Case Applications
Recent Patterns & Innovations (2023–2025)
- Thermal drones equipped with FLIR sensors are now standard in many Swiss cantons for locating victims under ice.
- Graphene-lined rescue suits improve flexibility without compromising insulation.
- Smart ice-thickness sensors installed near recreation zones feed live data to mobile apps managed by Civil Protection units.
- EMS now uses “Two-Stage Re-Warm” approach: surface insulation → controlled core warming (≤ 0.5 °C per 10 min).
- Data from 2024 Zürichsee pilot shows 30 % faster recovery time and reduced rescuer cold stress with dual-layer PPE systems.

Training & Safety Guidelines
Drills & Communications
- Follow ICS-Swiss template for command and communication.
- Conduct quarterly ice-rescue simulations including night-ops and multi-victim scenarios.
- Use plain language radio terms to avoid confusion across multilingual cantons.
Responder Safety
- Maximum exposure time on ice: 15 min per rescuer under –10 °C.
- Implement buddy checks for zippers, harnesses, and thermal seals.
- Monitor rescuers for frostnip or incipient hypothermia symptoms.
Pro Insights (From the Field)
- Always carry two throw-bags one primary, one backup for quick re-deployment.
- Keep hand-warmers inside glove liners to maintain dexterity.
- Mark ice entry and exit points with cones or reflective tape before nightfall.
- Use whistle signals (1 = stop, 2 = advance, 3 = retreat) in high-wind conditions.
- Keep insulated defibrillator pads inside inner pockets to preserve adhesion temperature.
- Assign one medic solely for re-warming monitoring during transport.
- Conduct joint drills with fire and police divers for interoperability.
FAQs
Q1. How thick should ice be before it’s safe to walk on?
Minimum 12 cm for a single person, 20 cm for small groups verified by local authorities before public access.
Q2. What’s the first sign of hypothermia?
Uncontrolled shivering, slurred speech, and loss of coordination; in severe cases, the patient may paradoxically feel warm.
Q3. Can hypothermia victims be given hot drinks immediately?
Only if conscious and alert. Avoid very hot liquids; use warm, sweet fluids gradually.
Q4. How long can a person survive in icy water?
Typically 15 – 45 minutes depending on body mass, clothing, and water temperature; functional movement declines within 10 minutes.
Q5. What’s the safest way for civilians to help?
Call 112 immediately, stay on solid ground, use reach or throw, never walk onto the ice.

Alex Smith, a seasoned medical technician with 15 years in ambulance services, writes crucial first-aid tips and emergency care insights on arescuer.com.
